Downmixing Multichannel Audio on Android
Sometimes we need to dig a little deeper into how things work. This is a quick and simple guide covering raw audio buffers on Android, and how to downmix multichannel formats.

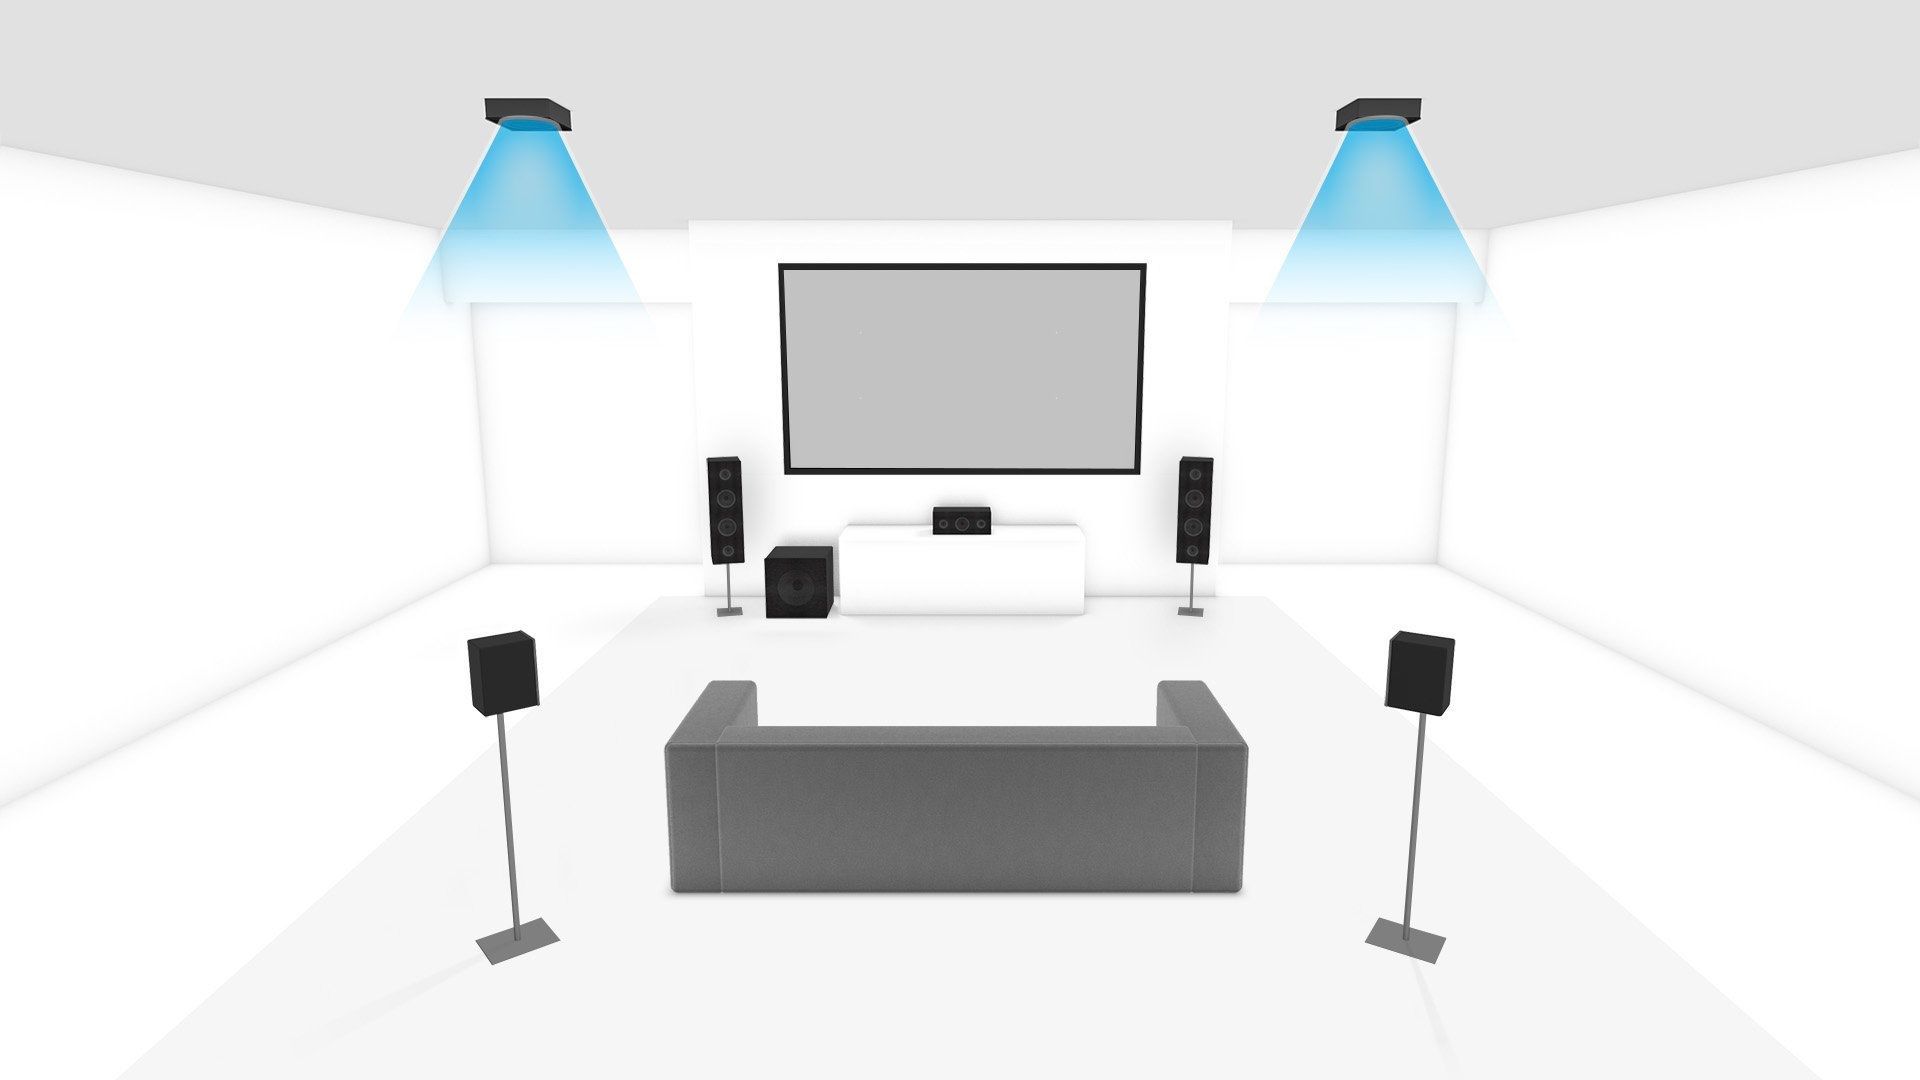
In this next article, I want to talk about something that on the surface appears complex but after finding the right resources, it turns out to be straightforward. As I'm sure you’re aware, a video can contain multiple audio channels to provide an immersive experience. While a stereo signal contains only two channels (front left and front right), a common surround sound configuration could have five positional channels (front left, front center, front right, rear left and rear right), along with a single low frequency channel for a subwoofer. What happens if you need to convert the audio by lowering its channel count (also known as downmixing)? What type of manipulation of the raw audio buffers is required? Let’s find out…
Let’s start by answering the question: why would you need to? We’re fortunate enough that most recent Android devices will now correctly downmix audio if they’re required to output to an audio setup that has less speakers than the source input. This wasn’t always the case. Before Google introduced Android TV, the previous version of what they now call Google TV (not to be confused with the product they called Google TV before Android TV) device support was variable. I also remember that the first generation Amazon TV Stick couldn’t handle multi-channel audio unless it was connected to a surround sound system, like an AV Receiver. Instead of downmixing, these devices would simply drop all other channels and simply play the front left and front right channels. This is a terrible idea, but we’ll come on to why later. There are also other scenarios where the content may be shared to another device where multi-channel audio support is unpredictable. To ensure greatest compatibility, you may be required to perform this downmixing yourself.
Raw Audio Format
Unfortunately, we can’t perform these types of manipulations in the compressed (original) format, so we are required to decode first. When audio is decoded on Android it’s converted to a 16-bit PCM frame, which is one sample for each channel in channel order. Each PCM audio sample is either a 16-bit signed integer or a float, in native byte order. Raw audio buffers in the float PCM encoding are only possible if the MediaFormat's MediaFormat#KEY_PCM_ENCODING is set to AudioFormat#ENCODING_PCM_FLOAT during MediaCodec configure(…) and confirmed by getOutputFormat() for decoders or getInputFormat() for encoders.
Let’s take a simple example to start with. If we are given a frame of PCM as 16-bit signed integers from the decoder, and we know its channel count is 2, then we can compute how many samples are contained. We also know within each sample, how to find the left and right channel.
Size of Sample in Bytes = Number of Channels * 2
Number of Samples = Buffer Size in Bytes / Size of Sample in Bytes
Format: [L, R], [L, R], [L, R]. …
And now for a slightly more complex case, 5.1:
Format: [L, C, R, RL, RR], [L, C, R, RL, RR], [L, C, R, RL, RR], …
If we convert this logic into a simple method, we get the following:
int inputChannelCount = 5;

// Calculate the number of samples contained within the input buffer.
int sampleSizeBytes = inputChannelCount * 2;
int sampleCount = inputBuffer.limit() - inputBuffer.position();

// Wrap the input buffer to make it easier to read 16-bit channels
ShortBuffer sampleBuffer = inputBuffer.order(ByteOrder.native())
   .asShortBuffer();

// Iterate over all samples and look up their channels.
for (int i = 0; i < sampleCount; i++) {
   short frontLeft = sampleBuffer.get(0);
   short frontRight = sampleBuffer.get(1);
   short center = sampleBuffer.get(2);
   // Notice 3 is skipped as that's Low Frequency Effects
   short rearLeft = sampleBuffer.get(4);
   short rearRight = sampleBuffer.get(5);
}
One challenge that I faced was that it was unclear what Android considered “channel order”. In practice, most platforms traditionally follow the WAV Standard. It was only after a bit of investigation inside the Android source code that I was able to confirm that this matched, as can be found here.
Downmixing != Downsampling
I mentioned earlier that devices that lacked downmixing support would simply select the front left and right channels, effectively throwing away the data contained within the other channels. The reason why this is such a bad idea is that often the vocals from the audio stream are contained within the center speaker, to give you the effect that dialog is coming from the TV or display. This leaves you with an experience that sounds like the actors are whispering, if audible at all. We therefore are required to re-compute the new target output channels, ensuring that we sample all suitable input channels, balancing them accordingly.
Thankfully, this is mostly a solved problem thanks to the AC3 (aka Dolby Digital) specification. It contains a number of reference tables that explain what factor each channel should weigh when combining to downmix. A great resource for these can be found here. Let’s pull out the 5.1 example and see how each input channel should be used when downmixing to Stereo:
Converting this to our calculation gives us the following:
Left = Front Left + 0.707 * Center + 0.707 * Rear Left
Right = Front Right + 0.707 * Center + 0.707 * Rear Right
Solution
We’ve been able to break down the problem into different problems and now should have enough information to start building our solution. Let’s try to combine everything we now know…
int inputChannelCount = 5;
int outputChannelCount = 2;

// Calculate the number of samples contained within the input buffer.
int sampleSizeBytes = inputChannelCount * 2;
int sampleCount = inputBuffer.limit() - inputBuffer.position();

// Create an output buffer
int outputSampleSizeBytes = outputChannelCount * 2;
int outputBufferSizeBytes = sampleCount * outputBufferSizeBytes;
ByteBuffer outputBuffer = ByteBuffer.allocateDirect(
   outputBufferSizeBytes).order(ByteOrder.nativeOrder());

// Wrap the input buffer to make it easier to read 16-bit channels
ShortBuffer sampleBuffer = inputBuffer.order(ByteOrder.nativeOrder())
   .asShortBuffer();

// Iterate over all samples and look up their channels.
for (int i = 0; i < sampleCount; i++) {
   short frontLeft = sampleBuffer.get(0);
   short frontRight = sampleBuffer.get(1);
   short center = sampleBuffer.get(2);
   // Notice 3 is skipped as that's Low Frequency Effects
   short rearLeft = sampleBuffer.get(4);
   short rearRight = sampleBuffer.get(5);

   // Calculate the left and right channels by sampling the input
   // channels.
   outputBuffer.putShort(
      (short) (frontLeft + 0.707 * center + 0.707 * rearLeft));
   outputBuffer.putShort(
      (short) (frontRight + 0.707 * center + 0.707 * rearRight));
}
Hopefully after following along, you are now more confident when faced with challenges dealing with raw audio data. There are various common manipulations you could be asked to consider, e.g. changing the sample rate but now that you understand the basics, this should be a lot easier and less scary.
If you have any questions or suggestions for future articles, follow me on Twitter @IanDBird