Battling problematic videos with Google's ExoPlayer
Unfortunately not all videos are created equally, and neither are Android devices. Learn some useful tips and tricks to sanity check your ExoPlayer integration by running the Demo App directly.


If you’re responsible for an application that has integrated ExoPlayer, Google’s open source player library, it is likely that you will have come across some videos that don’t play correctly. The first thing you need to ask is whether this problematic piece of media is exposing a limitation or bug in ExoPlayer itself, or your own integration. This post covers a few tricks on how to easily test your own videos using ExoPlayer’s Demo application.
ExoPlayer Demo App
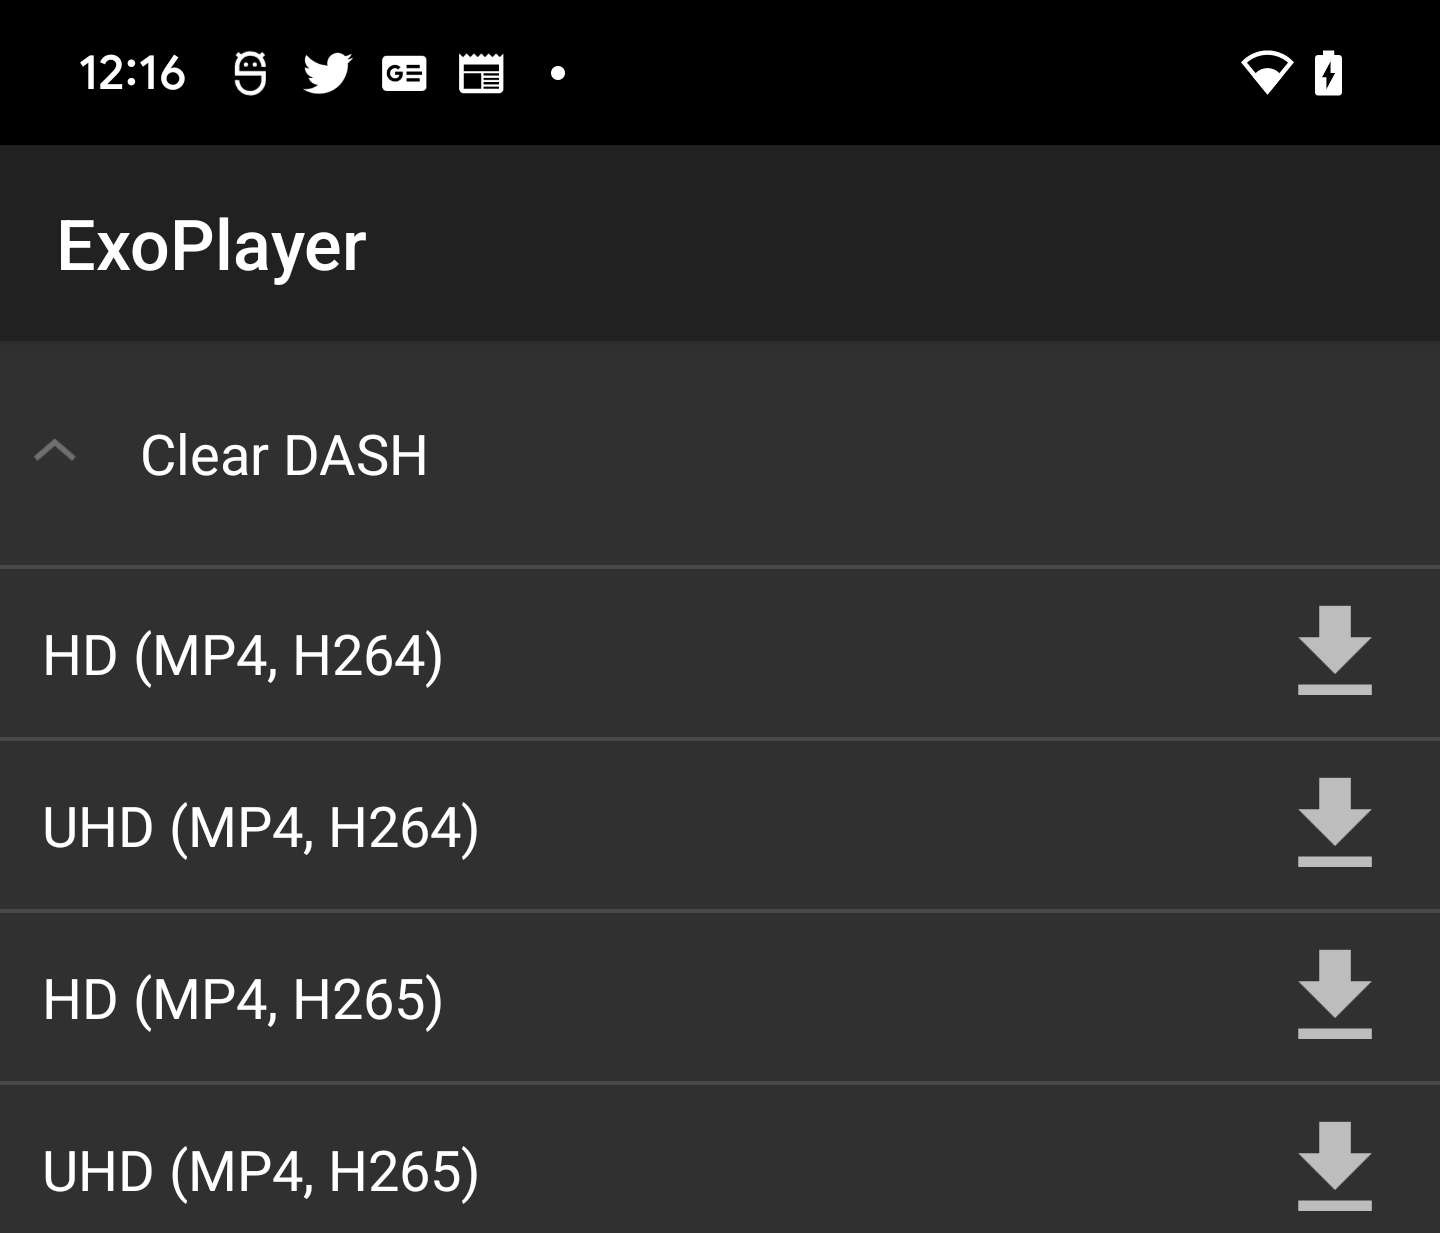
The ExoPlayer Library contains a number of demo integrations, one of which being a small application that can play a number of predefined videos. After checking out the git repository, loading it in Android Studio, you’ll see a run target simply known as “demo”. After kicking off a build and running the target, you’ll be greeted with a list of categories, with a drop down that lists available media assets. Clicking any one of these media files will start playback. Some examples of the formats that are included are:
- MPEG DASH (UHD, HD, etc)
- HLS (fMP4, TS, etc)
- Smooth Streaming
- Ads (Pre-roll, Mid-roll, Post-roll)
- MP4, MKV, MPEG-TS…
After digging into the source code, you’ll find that all of these test videos are defined in a JSON file located in the application’s asset folder (media.exolist.json). The JSON file is pretty simple and only contains two attributes: name and uri. Modifying or adding to this file and rebuilding will update the Demo App’s available test files, allowing you to play whatever you want.
Hosting Test Files
Let’s say that you have a test file located on your laptop and you want to stream it directly from ExoPlayer’s Demo app. There are a few ways you can accomplish this, but let me explain the two I commonly use. The first is to simply upload it to Google Drive and then use the Share functionality to find the URL to the file. This can then be added directly to the JSON configuration file and should play directly.
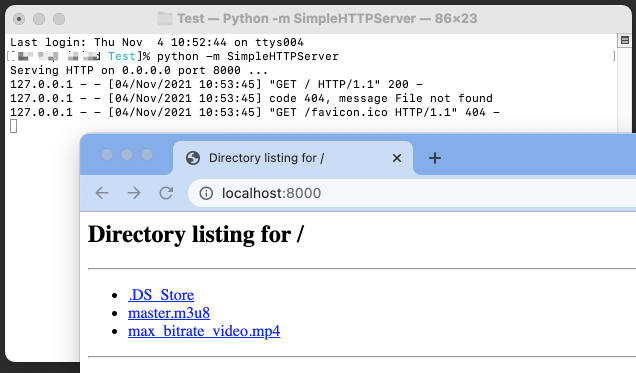
There are, however, occasions where uploading the file is not optimal. For example, imagine the file is actually pretty large and your upload speed is not fast enough. Or, maybe you have no internet connection at all. The next approach is to simply host the file locally. For me, the easiest approach is to simply run a small http server with the help of Python. Using a terminal to browse to the folder containing the test file, and starting Python’s SimpleHTTPServer, this will allow access via a local URL:
# If running Python2. The default port will be 8000.
python -m SimpleHTTPServer

# If running Python3:
python3 -m http.serverAfter the server process has been started, you can check it’s accessible by navigating to it via your browser (http://<IP ADDRESS>:8080/). This will list all the files in that folder, allowing you to create a URL which links directly to your test file. This URL can then be added to the JSON configuration file.
However, if you were to run the Demo app now and try to play your media file, you’ll find that it fails. The error reported will likely be an IO exception, reporting “Cleartext HTTP traffic not permitted”. This error is due to a change introduced in Android 6 (aka Marshmallow), where by default an application is not allowed to make network requests without using TLS. Since the local HTTP server that we’re running isn’t configured with an SSL certificate, we’re only able to provide cleartext responses. Thankfully, there is a way for us to reconfigure the Demo App, with the following modification to it’s AndroidManifest.xml file:
<?xml version="1.0" encoding="utf-8"?>
<manifest ...>
<uses-permission android:name="android.permission.INTERNET" />
<application ... android:usesCleartextTraffic="true" ...>
 ...
</application>
</manifest>
After making this simple change and rebuilding, we are now able to stream any videos from our laptop directly to the Android device or emulator, via the local network.
Manifest based playback (HLS or DASH)
The examples I've provided above are static files, rather than adaptive formats such as HTTP Live Stream (HLS) or MPEG DASH. I can go into these formats in a future post, but the key difference is that they can provide different variants of the same video, allowing the client to pick a specific variant based upon certain conditions, e.g. selecting an optimal bitrate based upon network conditions. They are also both segmented formats, meaning that instead of a single file being streamed, they are split into shorter files (aka segments). The file, or files which index these segments and provide any necessary information required for playback are manifests. These are simply text files that are supplied alongside the segments. In HLS, this will likely be a m3u8 playlist. When debugging these manifests, it’s possible to host these files locally on your laptop, but have the individual segments load from another source (e.g. their original public location on the internet). The one thing to remember about this scenario is that manifests often include relative references to variant-specific manifests or the segments themselves, so you may be required to modify them to include absolute paths. Here's an example of a m3u8 master playlist that contains both relative and absolute segment paths:
#EXTM3U
#EXT-X-PLAYLIST-TYPE:VOD
#EXT-X-TARGETDURATION:10
#EXT-X-VERSION:4
#EXT-X-MEDIA-SEQUENCE:0
#EXTINF:10.0,
http://example.com/movie1/fileSequenceA.ts
#EXTINF:10.0,
http://example.com/movie1/fileSequenceB.ts
#EXTINF:10.0,
fileSequenceC.ts
#EXTINF:9.0,
fileSequenceD.ts
#EXT-X-ENDLIST
I hope you’ve enjoyed this article and found some useful tricks when testing out video. Hopefully this will allow you to dig in a little further into how ExoPlayer works and what file formats it supports.